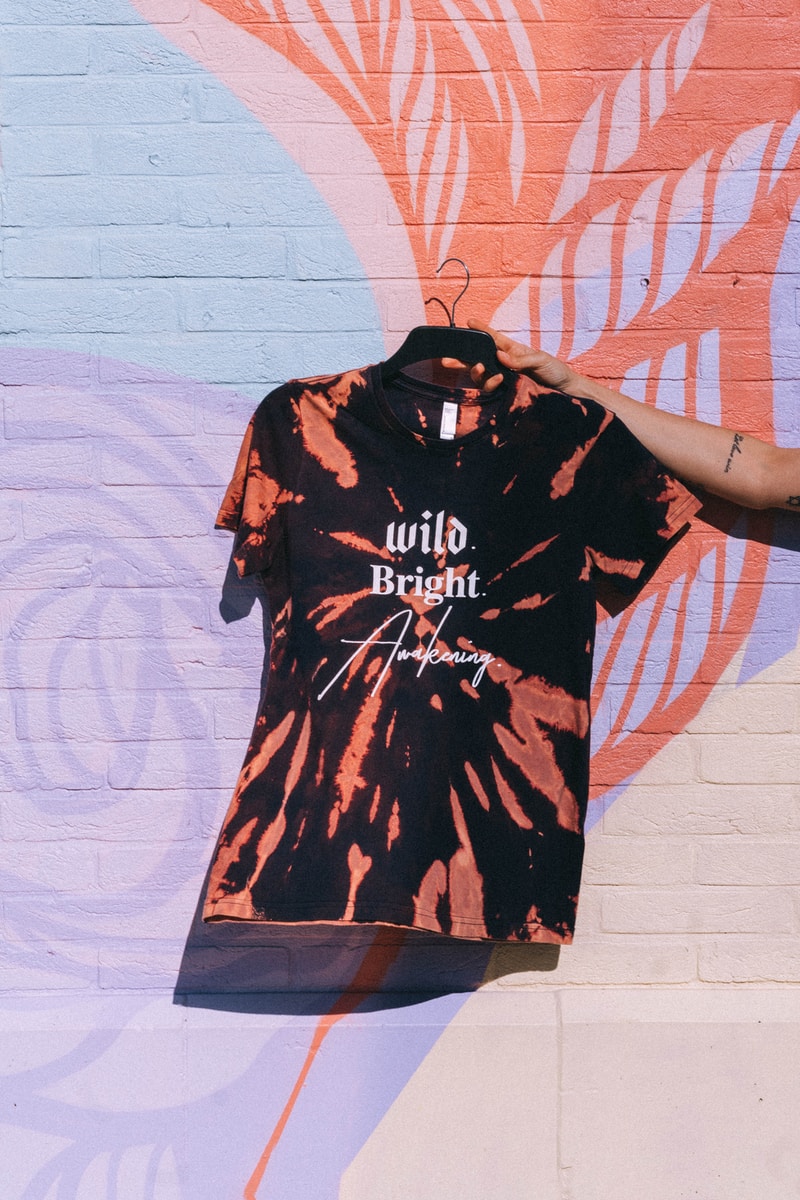
Looking to add a little bit of color to your wardrobe? Why not try tie-dyeing a black shirt? This fun and easy project can be done in just a few simple steps. In this blog post, we will show you how to tie-dye a black shirt using two different methods. You can choose the method that best suits your needs and abilities. So grab some dye and get creative!
What is Tie-Dye?
Tie-dye is a type of fabric decoration that involves tying small knots in the fabric to create a design. This process is then followed by dipping the fabric into a dye bath. The dye will seep into the fabric and create beautiful patterns.
Tie-dye shirts have become a popular fashion statement in recent years. They are fun, unique, and can be worn by anyone. You don’t need to be an expert tie-dyer to create beautiful designs on your shirt. It’s a great activity for kids and adults alike.
What you’ll need to tie-dye a black shirt
You need the following supplies to tie-dye a black shirt:
- A black t-shirt made of natural fibers like cotton or linen
- Colored dye – you can choose any color or colors that you like (we recommend using liquid fabric dye for best results)
- Rubber bands
- Salt
- Plastic bag or wrap
- Plastic gloves
- Old towel or cardboard
- Large bucket or sink
Method One: The Traditional Tie-Dye Method or Reverse Tie-Dye
This method is the most common and well-known way to tie-dye a shirt. The reverse tie-dye technique is also the messiest, so make sure you’re prepared before you start. You’ll need to set up your workspace with an old towel or cardboard to protect surfaces from dye stains. You’ll also need a large bucket or sink filled with water and salt. To start, wet your shirt and wring it out so it’s damp but not dripping wet. Then, fold the shirt in half lengthwise and then in half again so it’s folded into a square. Next, use rubber bands to secure the shirt in four places – one at each corner.
In a separate bowl or cup, mix your dye with enough water to create a thick consistency. If you’re using powdered dye, you’ll need to dissolve it in hot water before adding it to the mixture. Once the dye is ready, begin adding it to the shirt, starting with the lightest color and working your way to the darkest. Be sure to saturate the fabric well so the colors will be vibrant. Once you’re finished adding dye, carefully wrap the shirt in plastic wrap and let it sit for at least six hours.
After six hours have passed, remove the plastic wrap and rinse the shirt in warm water until the water runs clear. Then, hang it to dry or place it in the dryer on low heat.
- Koloa Surf Company has the perfect Colorful Tie-Dye T-Shirt for you. Printed with Koloa Surf Co.Logo Inside
- 5.4-ounce, 100% pigment-dyed cotton
- Tie dye shirts Sewn with cotton thread for a finished look
- Rib knit crewneck
- Taped neck and shoulders
- Double-needle sleeves and hem
Method Two: The Dip-Dye Method
This method is a little less messy and can be done without any special equipment or supplies. To start, wet your shirt and wring it out so it’s damp but not dripping wet. Then, fold the shirt in half lengthwise and tie a knot at the bottom. This will create a little pocket for the dye to go into.
In a separate bowl or cup, mix your dye with enough water to create a thick consistency. If you’re using powdered dye, you’ll need to dissolve it in hot water before adding it to the mixture. Once the dye is ready, dip the bottom of the shirt into the mixture, holding it there for a few minutes to allow the fabric to absorb the color. You can leave the shirt in for longer if you want a darker color.
Once you’re happy with the color, remove the shirt from the dye and rinse it in warm water until the water runs clear. Then, hang it to dry or place it in the dryer on low heat.
Bleach Tie-Dyeing
If you want to add a bit of bleach to your tie-dye project, you can do so by following the traditional tie-dye method. However, before you add the dye to the shirt, soak it in a mixture of water and bleach solution for about five minutes. This will help the fabric absorb the color better. Just be sure to rinse the shirt well after bleaching it, as bleach can be harmful to your skin.
You don’t need to buy concentrated bleach. Regular bleach will do the trick. It’s preferable to dye dress shirts in a well-ventilated area so you aren’t breathing in too many chemicals. Tie-dying clothes outside rather than inside is suggested.
Different Tie-dye Patterns
Now that you know how to tie-dye a black shirt, you can get creative with your patterns. There are endless possibilities when it comes to tie-dye, so have fun with it! Here are a few ideas and technique to get you started:
The spiral
This is the most classic tie-dye pattern. To create it, start by folding the shirt into a square and securing it with rubber bands. Then, begin twisting the fabric into a spiral shape. Once you’ve reached the top, secure it with another rubber band.
The chevron
This pattern is created by folding the shirt in half lengthwise and then tying it off at the bottom so it forms a triangle. Next, divide the fabric into three even sections and begin tying them off at the top with rubber bands. Once you have three sections, start twisting them together to create the chevron pattern.
The stripe
This is another easy pattern to create. Start by folding the shirt in half lengthwise and securing it with rubber bands. Then, begin making stripes by folding the fabric into thin strips and securing them with rubber bands. Be sure to vary the width of the stripes for a more interesting look.
The grid
This is a more challenging pattern, but it’s worth the effort! Start by folding the shirt into quarters and securing it with rubber bands. Then, begin folding the fabric into thin strips and securing them with rubber bands. Be sure to make the strips as even as possible for a neat grid pattern.
The zigzag
This is another fun pattern that’s easy to create. Start by folding the shirt in half lengthwise and securing it with rubber bands. Then, take two strips of fabric and tie them off at the top, so they form a V-shape. Next, twist the strips together to create the zigzag pattern.
The rosette
This is a more intricate pattern that takes some practice to get right. Start by folding the shirt into quarters and securing it with rubber bands. Then, take a strip of fabric and fold it in half. Next, twist the surrounding strip to create a coil. Once you have a coil, begin wrapping it around itself to form a rosette.
The sunburst
This is a beautiful pattern that’s perfect for summertime. To create it, start by folding the shirt into quarters and securing it with rubber bands. Then, take a strip of fabric and fold it in half. Next, twist the strip around itself to form a coil. Once you have a coil, begin wrapping it around itself to form a sunburst shape.
The knot
This is a simple pattern that’s perfect for beginners. Start by folding the shirt into quarters and securing it with rubber bands. Then, take a strip of fabric and tie it into a knot. Repeat this process until the shirt is covered in knots.
You can try different colors and color combinations to create a shirt that’s truly unique. Using old clothes that you don’t mind ruining is a great way to experiment with tie-dye and perfect your technique.
Tie-dyeing is a great way to add some personality to your wardrobe. With a little practice, you’ll be able to create any number of patterns and designs. So get creative and have fun!


